My-Task Documentation
Getting Started
This guide will help you get started with Mytask! All the important stuff – compiling the source, file structure, build tools, file includes – is documented here, but should you have any questions, always feel free to reach out to pixelwibes@gmail.com
If you really like our work, design, performance and support then please don't forgot to rate us on Themeforest,
it really motivate us to provide something better.
Please Note :
- All images are just used for Preview Purpose Only. They are not part of the template and NOT included in the final purchase files.
- This is Admin panel design integrated with Laravel, ready to develop template. It does not include any Business logic to produce database records.
Installation Setup Laravel
This template is built in Laravel and requires PHP 7.3+, Node 14.x and NPM 6.9.0 to be installed
This template is built on Laravel 8.0, Boilerplate
Credentials: Admin
User: admin@admin.com
Password: secret
To get started, you need to do the following:
- Node.js and NPM: You can download Node.js from NodeJS. NPM comes bundled with Node.js
- Project Setup: After Installing Node and NPM, run 'num install' command to install npm related dependencies
- Environment Files: This package ships with a
env.examplefile in the root of the project.You must rename this file to just.env
Note: Make sure you have hidden files shown on your system. - Composer: Laravel project dependencies are managed through the
PHP Composer tool. The first step is to install the depencencies by navigating into your project in terminal and typing this command:
composer install - Create Database: You must create your database on your server and on your
.envfile update the following lines:
DB_CONNECTION=mysql
DB_HOST=127.0.0.1
DB_PORT=3306
DB_DATABASE=homestead
DB_USERNAME=homestead
DB_PASSWORD=secret - Artisan Commands: The first thing we are going to do is set the key that Laravel will use when doing encryption.
php artisan key:generate
You should see a green message stating your key was successfully generated. As well as you should see the APP_KEY variable in your .env file reflected.
It's time to see if your database credentials are correct.
We are going to run the built in migrations to create the database tables:
php artisan migrate
You should see a message for each table migrated, if you don't and see errors, than your credentials are most likely not correct.
We are now going to set the administrator account information. To do this you need to navigate to this file and change the name/email/password of the Administrator account.
You can delete the other dummy users, but do not delete the administrator account or you will not be able to access the backend.
Now seed the database with:
php artisan db:seed
You should get a message for each file seeded, you should see the information in your database tables. - NPM Run '*' Now that you have the database tables and default rows, you need to build the styles and scripts.
These files are generated using Laravel Mix, which is a wrapper around many tools, and works off thewebpack.mix.jsin the root of the project.You can build with:
npm run < command >
The available commands are listed at the top of the package.json file under the 'scripts' key.
You will see a lot of information flash on the screen and then be provided with a table at the end explaining what was compiled and where the files live.
At this point you are done, you should be able to hit the project in your local browser and see the project, as well as be able to log in with the administrator and view the backend. - Storage:linkAfter your project is installed you must run this command to link your public storage folder for user avatar uploads:
php artisan storage:link - LoginAfter your project is installed and you can access it in a browser, click the login button on the right of the navigation bar.
The administrator credentials are:
Username: admin@admin.com
Password:: secret
You will be automatically redirected to the backend. If you changed these values in the seeder prior, then obviously use the ones you updated to.
File Structure
-
app - The app directory holds the base code for your Laravel application.
- Console
- Domains
- Exceptions
- Helpers / Global
-
Http
-
Controllers
- Backend
- Frontend
- Controller.php
- LocaleController.php
- Livewire
- Middleware
- Requests
- Kernel
-
Controllers
- Models
- Providers
- Rules
- Services
- bootstrap- The bootstrap directory contains all the bootstrapping scripts used for your application.
- config- The config directory holds all your project configuration files (.config).
- database- The database directory holds your database files.
- public- The public directory helps to start your Laravel project and maintains other necessary files such as JavaScript, CSS, and images of your project.
-
resources- The resources directory holds all the Sass files, language (localization) files, templates (if any).
- js
- lang
- sass
- views
- routes- The routes directory contain all your definition files for routing, such as console.php, api.php, channels.php, etc.
- storage- The storage directory holds your session files, cache, compiled templates as well as miscellaneous files generated by the framework.
- test- The test directory holds all your test cases.
- node_modules - NPM dependencies (by default the folder is not included)
npminstalls dependencies. - _ide_helper.php -package Generation is done based on the files in your project
- composer.json - The PHP Composer can be defined as a dependency manager or dependency management tool specifically built for PHP
- composer.lock - It basically states that your project is locked to those specific versions
- package.json - List of dependencies and npm information
- phpunit.xml - Convenient helper methods allow to expressively test your applications
- server.php - Head to your cli and start the server
- webpack.mix.js - Mix makes it a cinch to compile and minify your application's
Layouts info
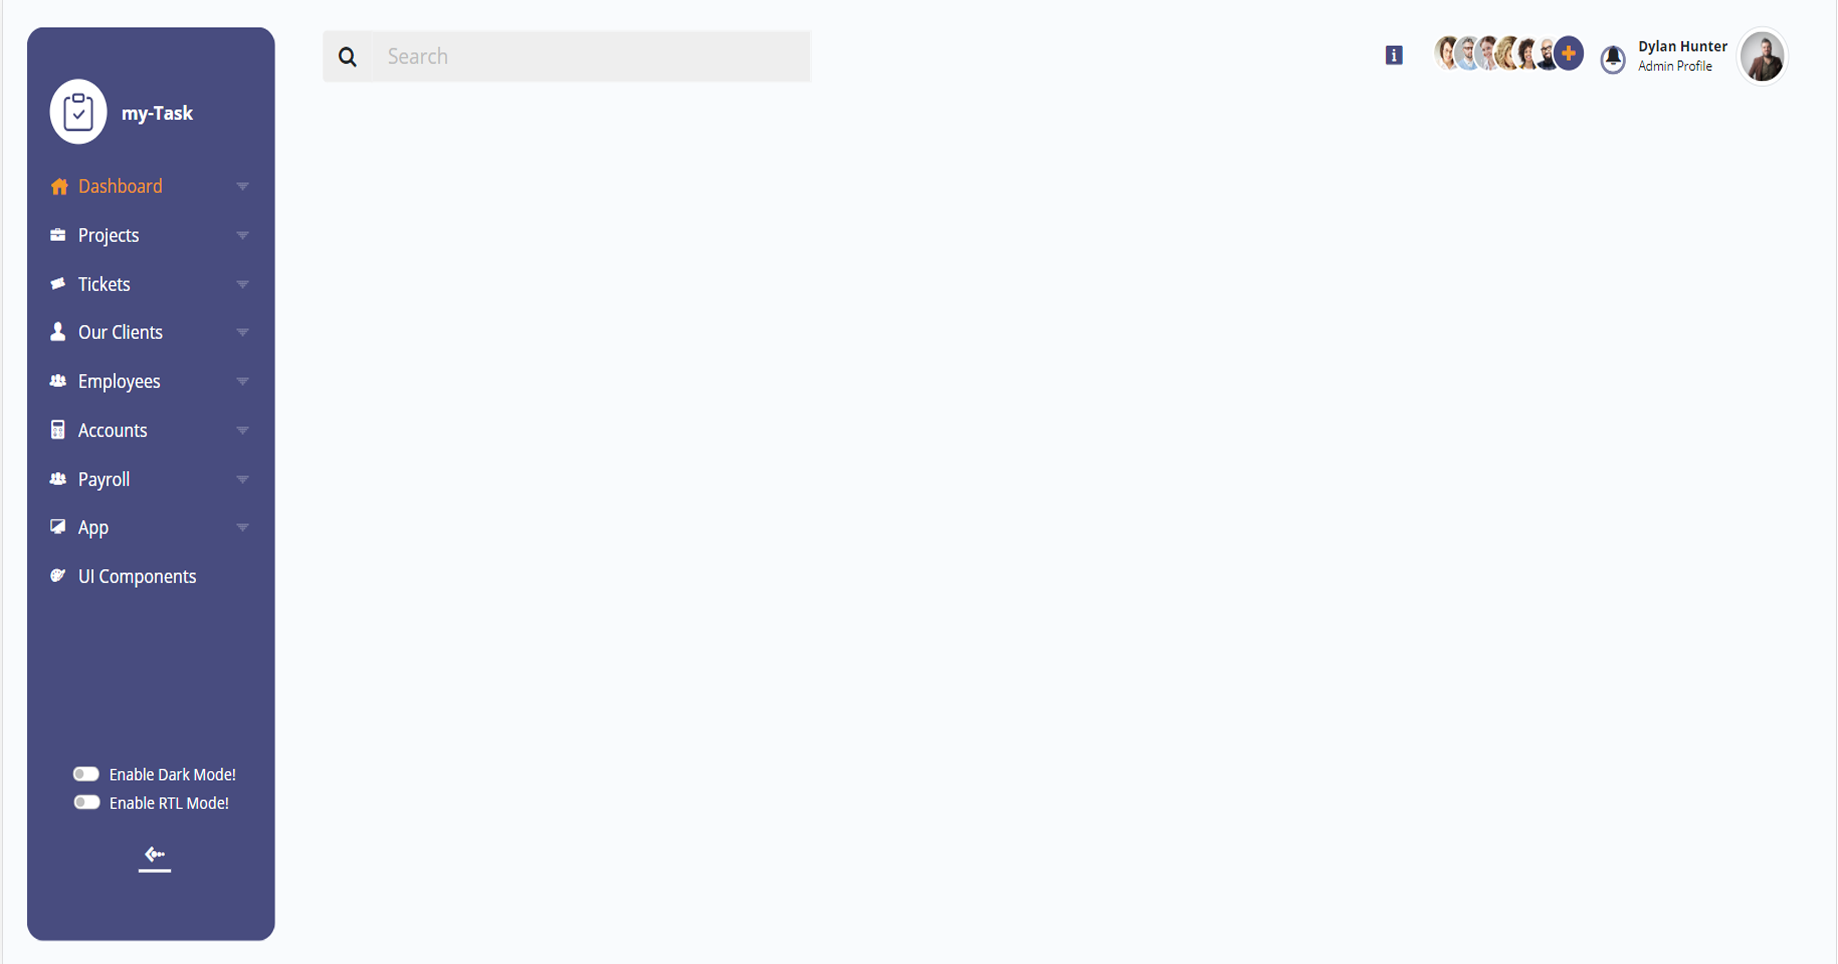
Bydefult Menu Open Code
    <div class="sidebar px-4 py-2 py-md-4 me-0">
        <div class="d-flex flex-column h-100">
            <!-- Main Logo -->
            <a href="index.html" class="mb-0 brand-icon">
            </a>
            <!-- Menu: main ul -->
            <ul class="menu-list flex-grow-1 mt-3">
            </ul>
            <!-- Theme: Switch Theme -->
            <ul class="list-unstyled mb-0">
            </ul>
            <!-- Menu: menu collepce btn -->
            <button type="button" class="btn btn-link sidebar-mini-btn text-light">
                <span class="ms-2"><i class="icofont-bubble-right"></i></span>
            </button>
        </div>
    </div>
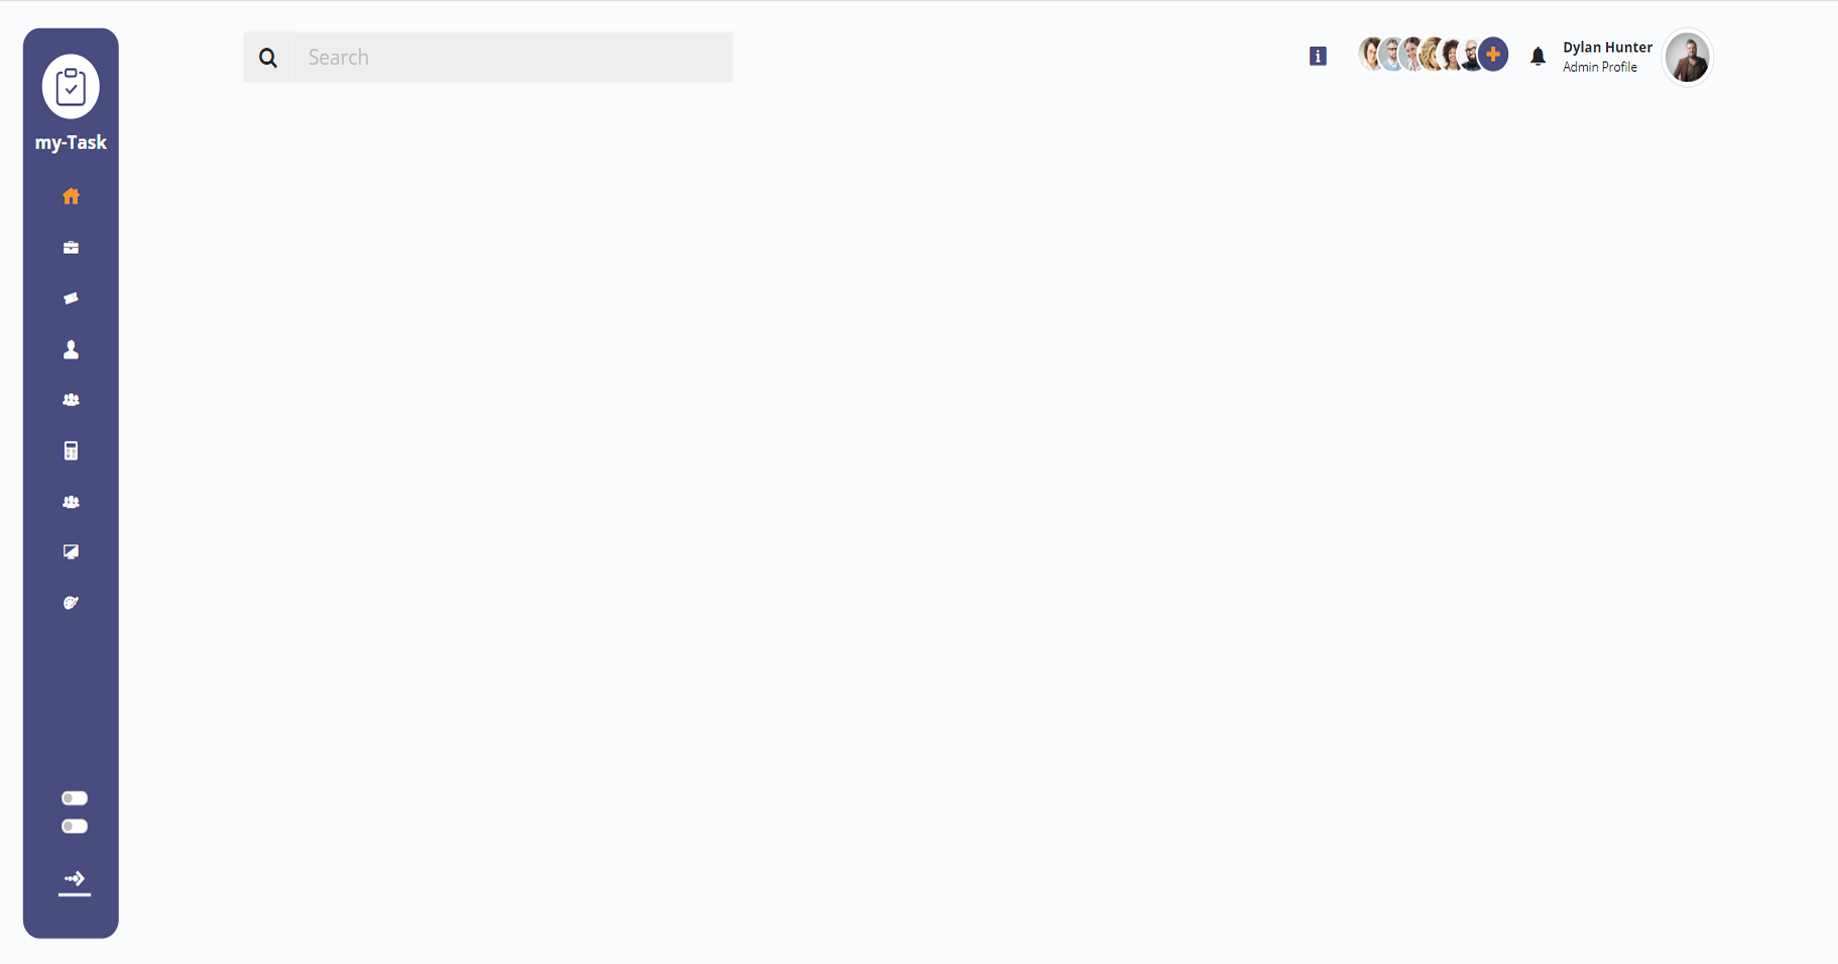
Bydefult Menu Close Code
    <div class="sidebar px-4 py-2 sidebar-mini py-md-4 me-0">
        <div class="d-flex flex-column h-100">
            <!-- Main Logo -->
            <a href="index.html" class="mb-0 brand-icon">
            </a>
            <!-- Menu: main ul -->
            <ul class="menu-list flex-grow-1 mt-3">
            </ul>
            <!-- Theme: Switch Theme -->
            <ul class="list-unstyled mb-0">
            </ul>
            <!-- Menu: menu collepce btn -->
            <button type="button" class="btn btn-link sidebar-mini-btn text-light">
                <span class="ms-2"><i class="icofont-bubble-right"></i></span>
            </button>
        </div>
    </div>
Comman Utilities With Custom Class
Text Color
| Class | Results |
|---|---|
.text-primary |
Lorem ipsum dolor sit amet consectecur. |
.text-secondary |
Lorem ipsum dolor sit amet consectecur. |
.text-success |
Lorem ipsum dolor sit amet consectecur. |
.text-info |
Lorem ipsum dolor sit amet consectecur. |
.text-warning |
Lorem ipsum dolor sit amet consectecur. |
.text-danger |
Lorem ipsum dolor sit amet consectecur. |
.text-dark |
Lorem ipsum dolor sit amet consectecur. |
.color-lightyellow |
Lorem ipsum dolor sit amet consectecur. |
.color-lightblue |
Lorem ipsum dolor sit amet consectecur. |
.color-light-success |
Lorem ipsum dolor sit amet consectecur. |
.color-light-orange |
Lorem ipsum dolor sit amet consectecur. |
.color-careys-pink |
Lorem ipsum dolor sit amet consectecur. |
Background Color
| Class | Results |
|---|---|
.bg-primary |
|
.bg-secondary |
|
.bg-success |
|
.bg-info |
|
.bg-warning |
|
.bg-danger |
|
.bg-dark |
|
.bg-white |
|
.bg-lightyellow |
|
.bg-lightblue |
|
.bg-careys-pink |
|
.light-success-bg |
|
.light-orange-bg |
Advantages
- Very easy access to any starters components and core settings from anywhere in the template.
- Intuitive clear architecture.
- Avoiding the probabilities of conflicts between Front codes and third party plugins (libraries).
- Creation of wrapper components simply solves complicated initializations structures for the users.
- Everything is structured, each component in its own file and in its component in the main object.
- The ability of extending functionality without affecting the behavior of the core object and not changing the existing functionality.
mytask Template Credit
| Google font | https://fonts.google.com/ |
| Bootstrap | https://v5.getbootstrap.com/ |
| Jquery | https://jquery.com/ |
| SASS | https://sass-lang.com/ |
| Grunt | https://gruntjs.com/ |
| NPM | https://www.npmjs.com/ |
| Fontawesome | https://fontawesome.com/v4.7.0/ |
| Icon Font | https://icofont.com/icons |
| Apex Charts | https://apexcharts.com/ |
| Sparkline Charts | https://omnipotent.net/jquery.sparkline/#s-about |
| Fullcalendar | https://fullcalendar.io/ |
| Owl Carousel | https://owlcarousel2.github.io/OwlCarousel2/ |
| Pexels | https://www.pexels.com/ |